

Measuring the Aperture
It is well known that many budget binoculars are internally stopped down and do not have the effective aperture that you would expect. For example, the nominal 15x70 binocular used for this demonstration has an aperture of slightly under 63mm. Whilst there are industry standards for magnification (within 5% of stated magnification, with less than 1.5% difference between the left and right tubes), there is not one for aperture!
Exit Pupil Measurement
The simplest way to get a rough estimate of aperture is to assume that the magnification is correct and to hold a translucent screen (e.g. baking parchment) behind the eyepiece when the binocular is focused at infinity and facing a light source such as a daylit window. Adjust the screen to get the sharpest possible image, then measure this with a vernier caliper, micrometer or ruler, depending on how precise you want to try to be (reliably good precision is not simple to attain with this method). Even simpler, if the light is sufficiently bright, is to use a piece of millimeter graph paper as the screen and read the diameter directly.
You then multiply the exit pupil diameter by the magnification to obtain an estimate of the aperture. The method is rough, but should be sufficient to establish whether the aperture is significantly over-stated.
Direct Measurement Using a Laser
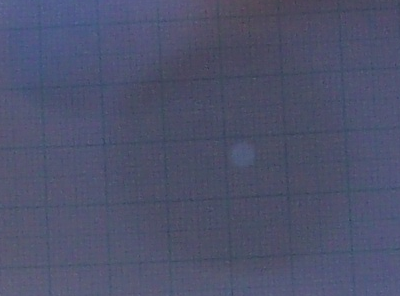
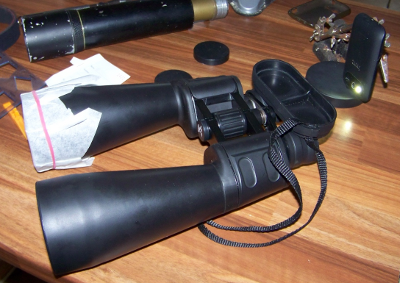
To measure it without relying on the magnification being correct, you project light from behind the eyepiece and measure the diameter of the cylinder of light that emerges from objective lens when the binocular is focused at infinity. Strictly speaking, the light should be collimated (parallel rays) when it enters the eyepiece. I have found the simplest way to achieve this is with a laser. The diameter of the laser beam will almost certainly be smaller than the exit pupil. so it will need to be broadened. I have used a 9x50 finderscope for the purpose in the somewhat Heath-Robinson setup in the diagram.
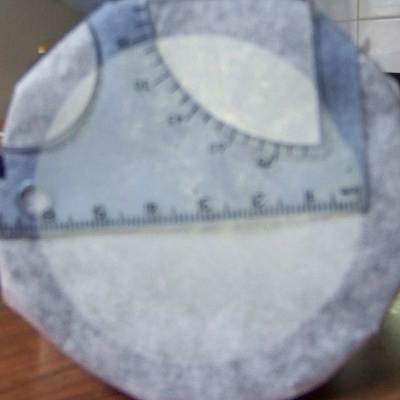
The diameter of the emergent beam on a translucent screen can easily be measured with a transparent ruler (easier to read than the photograph suggests). To avoid parallax, the scale should be held with the graduations against the screen.
Note also how the effect of undersized prisms is shown by the flats at the 2 0'clock and 11 o'clock positions.
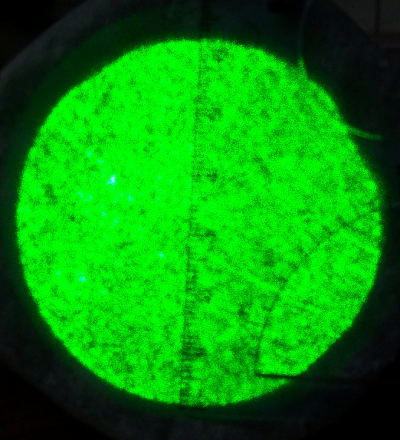
Direct Measurement Using a LED
In order to be very accurate it is necessary to do this with collimated light. However, for practical purposes an accuracy of a few percent is sufficient. As long as a small light-source is placed sufficiently far from the eyepiece, the rays will not diverge far enough from parallel to make a measurable difference to the diameter of the emergent light beam. With the Kunming BA1 15x70 that I used for this test, I was unable to detect any difference in diameter of the emergent beam when the light source (the camera-flash LED on my mobile phone)was more than 200mm behind the eyepiece, and it was within a millimeter when the light was 150mm from the eyepiece.
Note also how, as with the laser, the effect of undersized prisms is shown by the flats at the 2 0'clock and (less distinctly) 11 o'clock positions.
Incidentally, for the nominal 15x70 binocular used for these tests, I obtained an aperture of "a bit over 60mm" using the exit-pupil measurement, 62mm using the laser, and 62.5mm using the LED. For qualitative evaluation, any will do: they all show that it is certainly not 70mm!
